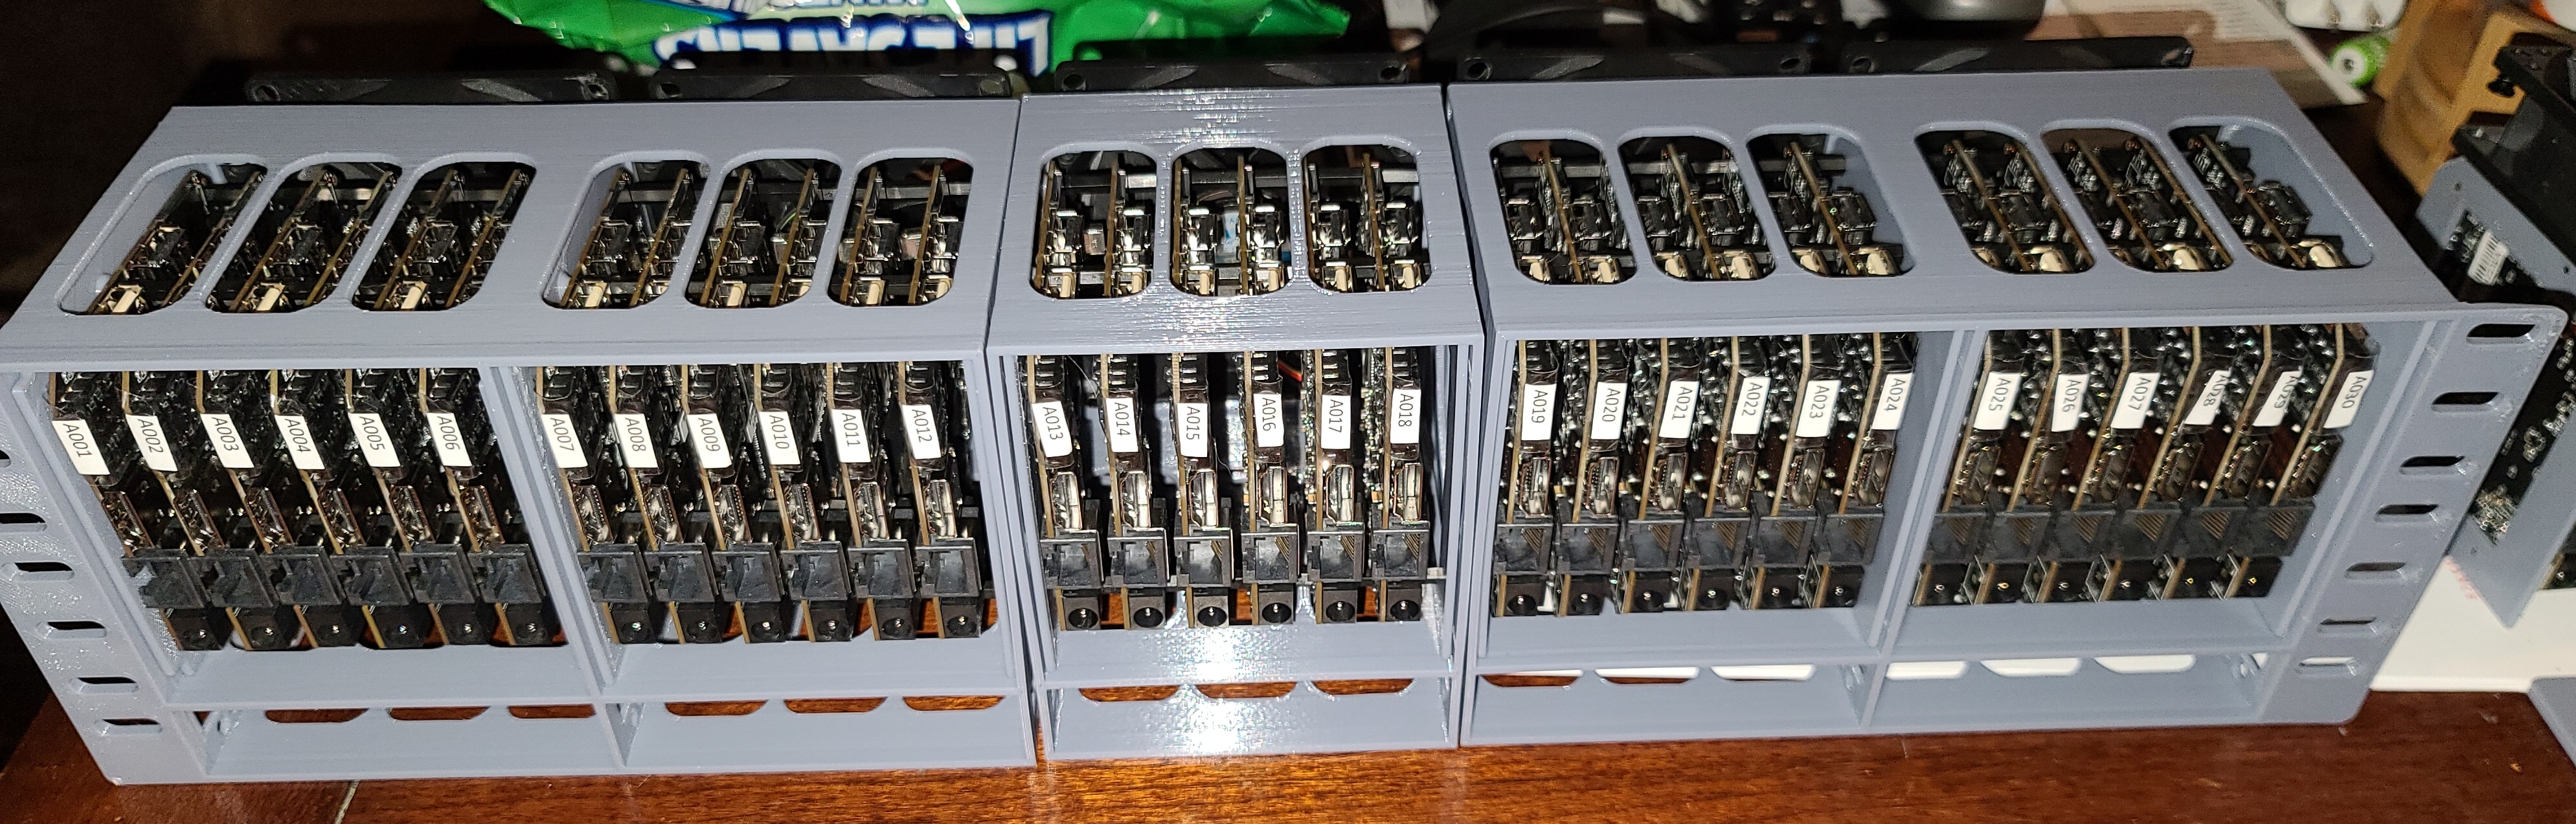
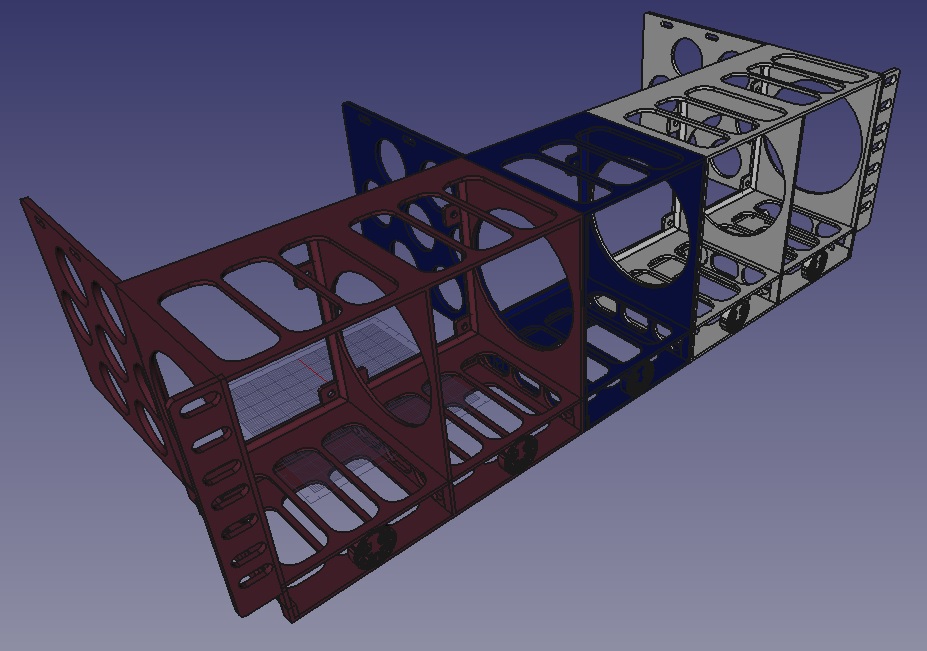
This was created with FreeCAD and I am not a CAD person, so the parts were not created in draft/draw. This is setup to fit 1 to 7 ATVs in a bay so you can fit 5 to 35 in one enclosure. There's a rack-mount and desktop version for your needed usage. The rack-mount sections also have fins off the back for mounting 20-port Sipolar USB hubs without losing rack space. 2 enclosures would require 3 hubs so there are 3 fins.
This can be expanded to fit other boards if needed. All that's required are new board adaptors (left and right sides).
I ask that if you make useful alterations or improvements to this design, please create a pull request back to this repo to share with the community.
- 3D printer with filament
- Printers and filament will vary, I'll discuss printing below.
- 80mm x 80mm fans (No link, had these since 2005)
- Fan screws since I ran out (https://www.amazon.com/dp/B089PX5FSZ)
- Power adaptor for fans (https://www.amazon.com/dp/B077PW5JC3)
- This is just an example. You need to check the power requirements of the fans. If they are 0.24a, you can power 5 fans with a 1.2a adaptor.
- M2 x 12mm nylon standoffs (https://www.amazon.com/gp/product/B08F2HLX4K)
- 10mm would be the smallest you could go while still having room for the NICs (the below heat sinks are shorter). This could give you 7 in a bay.
- Other standoffs can be used if you want more space just target a total stack of 86mm. Boards are 1.33mm; Sides are 4mm and 2mm.
- 11-12mm = 6 boards
- 13-14mm = 5 boards
- 15-18mm = 4 boards
- 19-25mm = 3 boards
- 5mm x 12mm x 12mm heat sinks (https://www.amazon.com/dp/B07ZC56CRL)
- Fits in the space left by the 12mm standoffs without touching the next board
- M2 x 8mm plastic screws (https://www.mcmaster.com/90380A327/)
- These are used to hold the right adaptor to the standoffs. You can reused any screws the ATV came with.
- #8-32 Threaded rod (https://www.mcmaster.com/98837A009/)
- Only the bottom 2 rod holes need to be populated so I did not recess the top set.
- The rods must be short enough to fit between the rack's rail mounts, which is about 450mm (17_11/16").
- The hole was made to fit 5mm (0.196" or #10) rod so you can substitute for w/e the cheapest rod you can find.
- Might need to cut or grind the ends to fit the length.
- This can be optional for the desktop version.
- #8-32 nuts (https://www.mcmaster.com/94450A517/)
- Hex or square, w/e is cheapest for you. The recessed spots are setup to fit hex and should fit square.
- The shorter the better for fitting between the rack's rail mounts.
- This can be optional for the desktop version.
- M6 rack screws and cage nuts (https://www.amazon.com/dp/B09BYTWFSN)
- Only needed for the rack-mount setup.
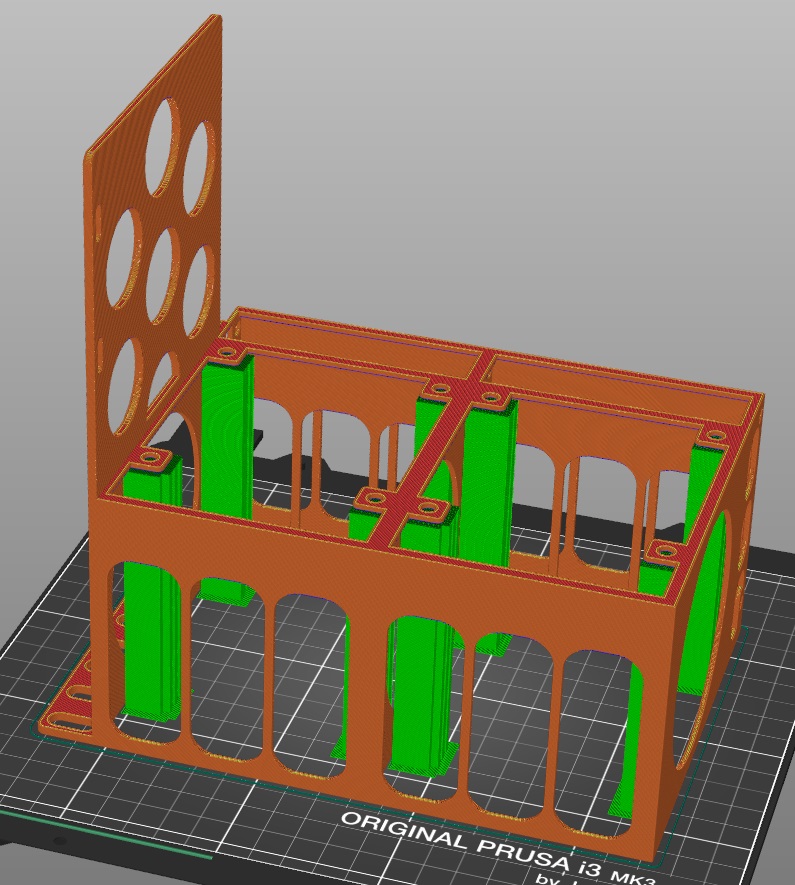
I printed this with a Prusa i3 MK3S+ and the sections are almost at the max height. The print is about 203mm and the printer can go to 210mm.
To minimize the support material, I printed these face down with supports drawn only on the fan mounts like below.
If you are printing the desktop_double version, make sure to put supports on all of the tabs.
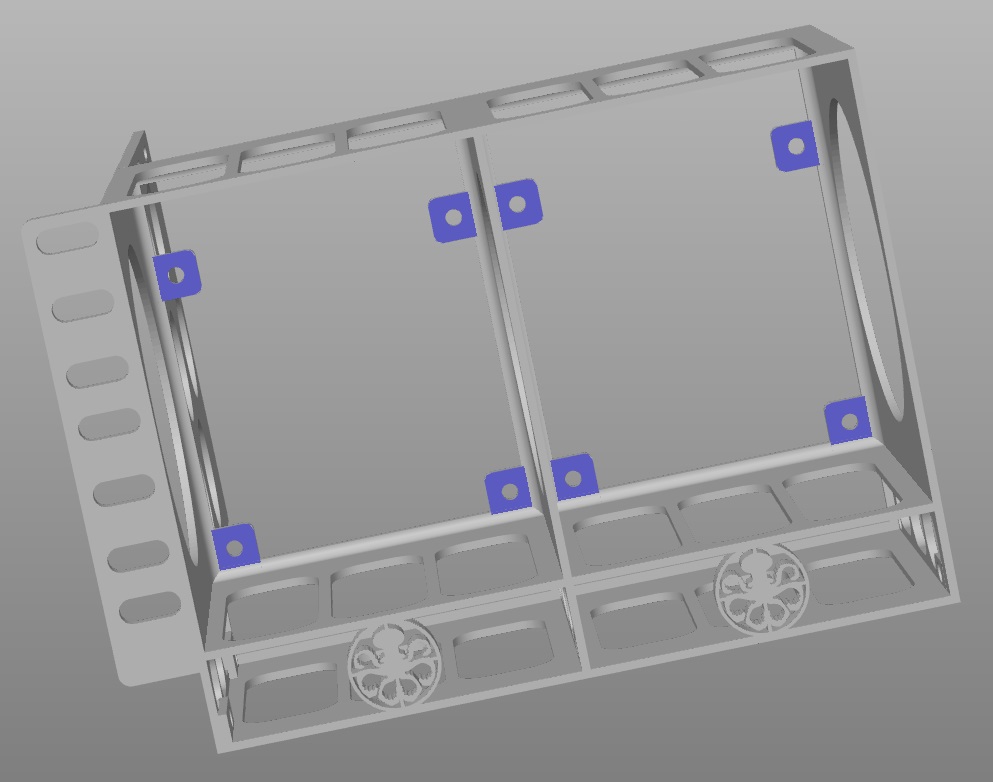
I get that there are overhangs in other areas but they are not structural and I made most into bevels so they will have a little support as they print.
You can print 2 of the sections together or 1 with a couple of flat adaptors that you need to put the boards in the bays (5 sets per enclosure).
- Print time is about 10 hours with a 0.3mm nozzle for the left rack section. Use a bigger one for a faster time.
- Infill doesn't matter until the fin. I set it to 20%
- PLA filament was used in my prints
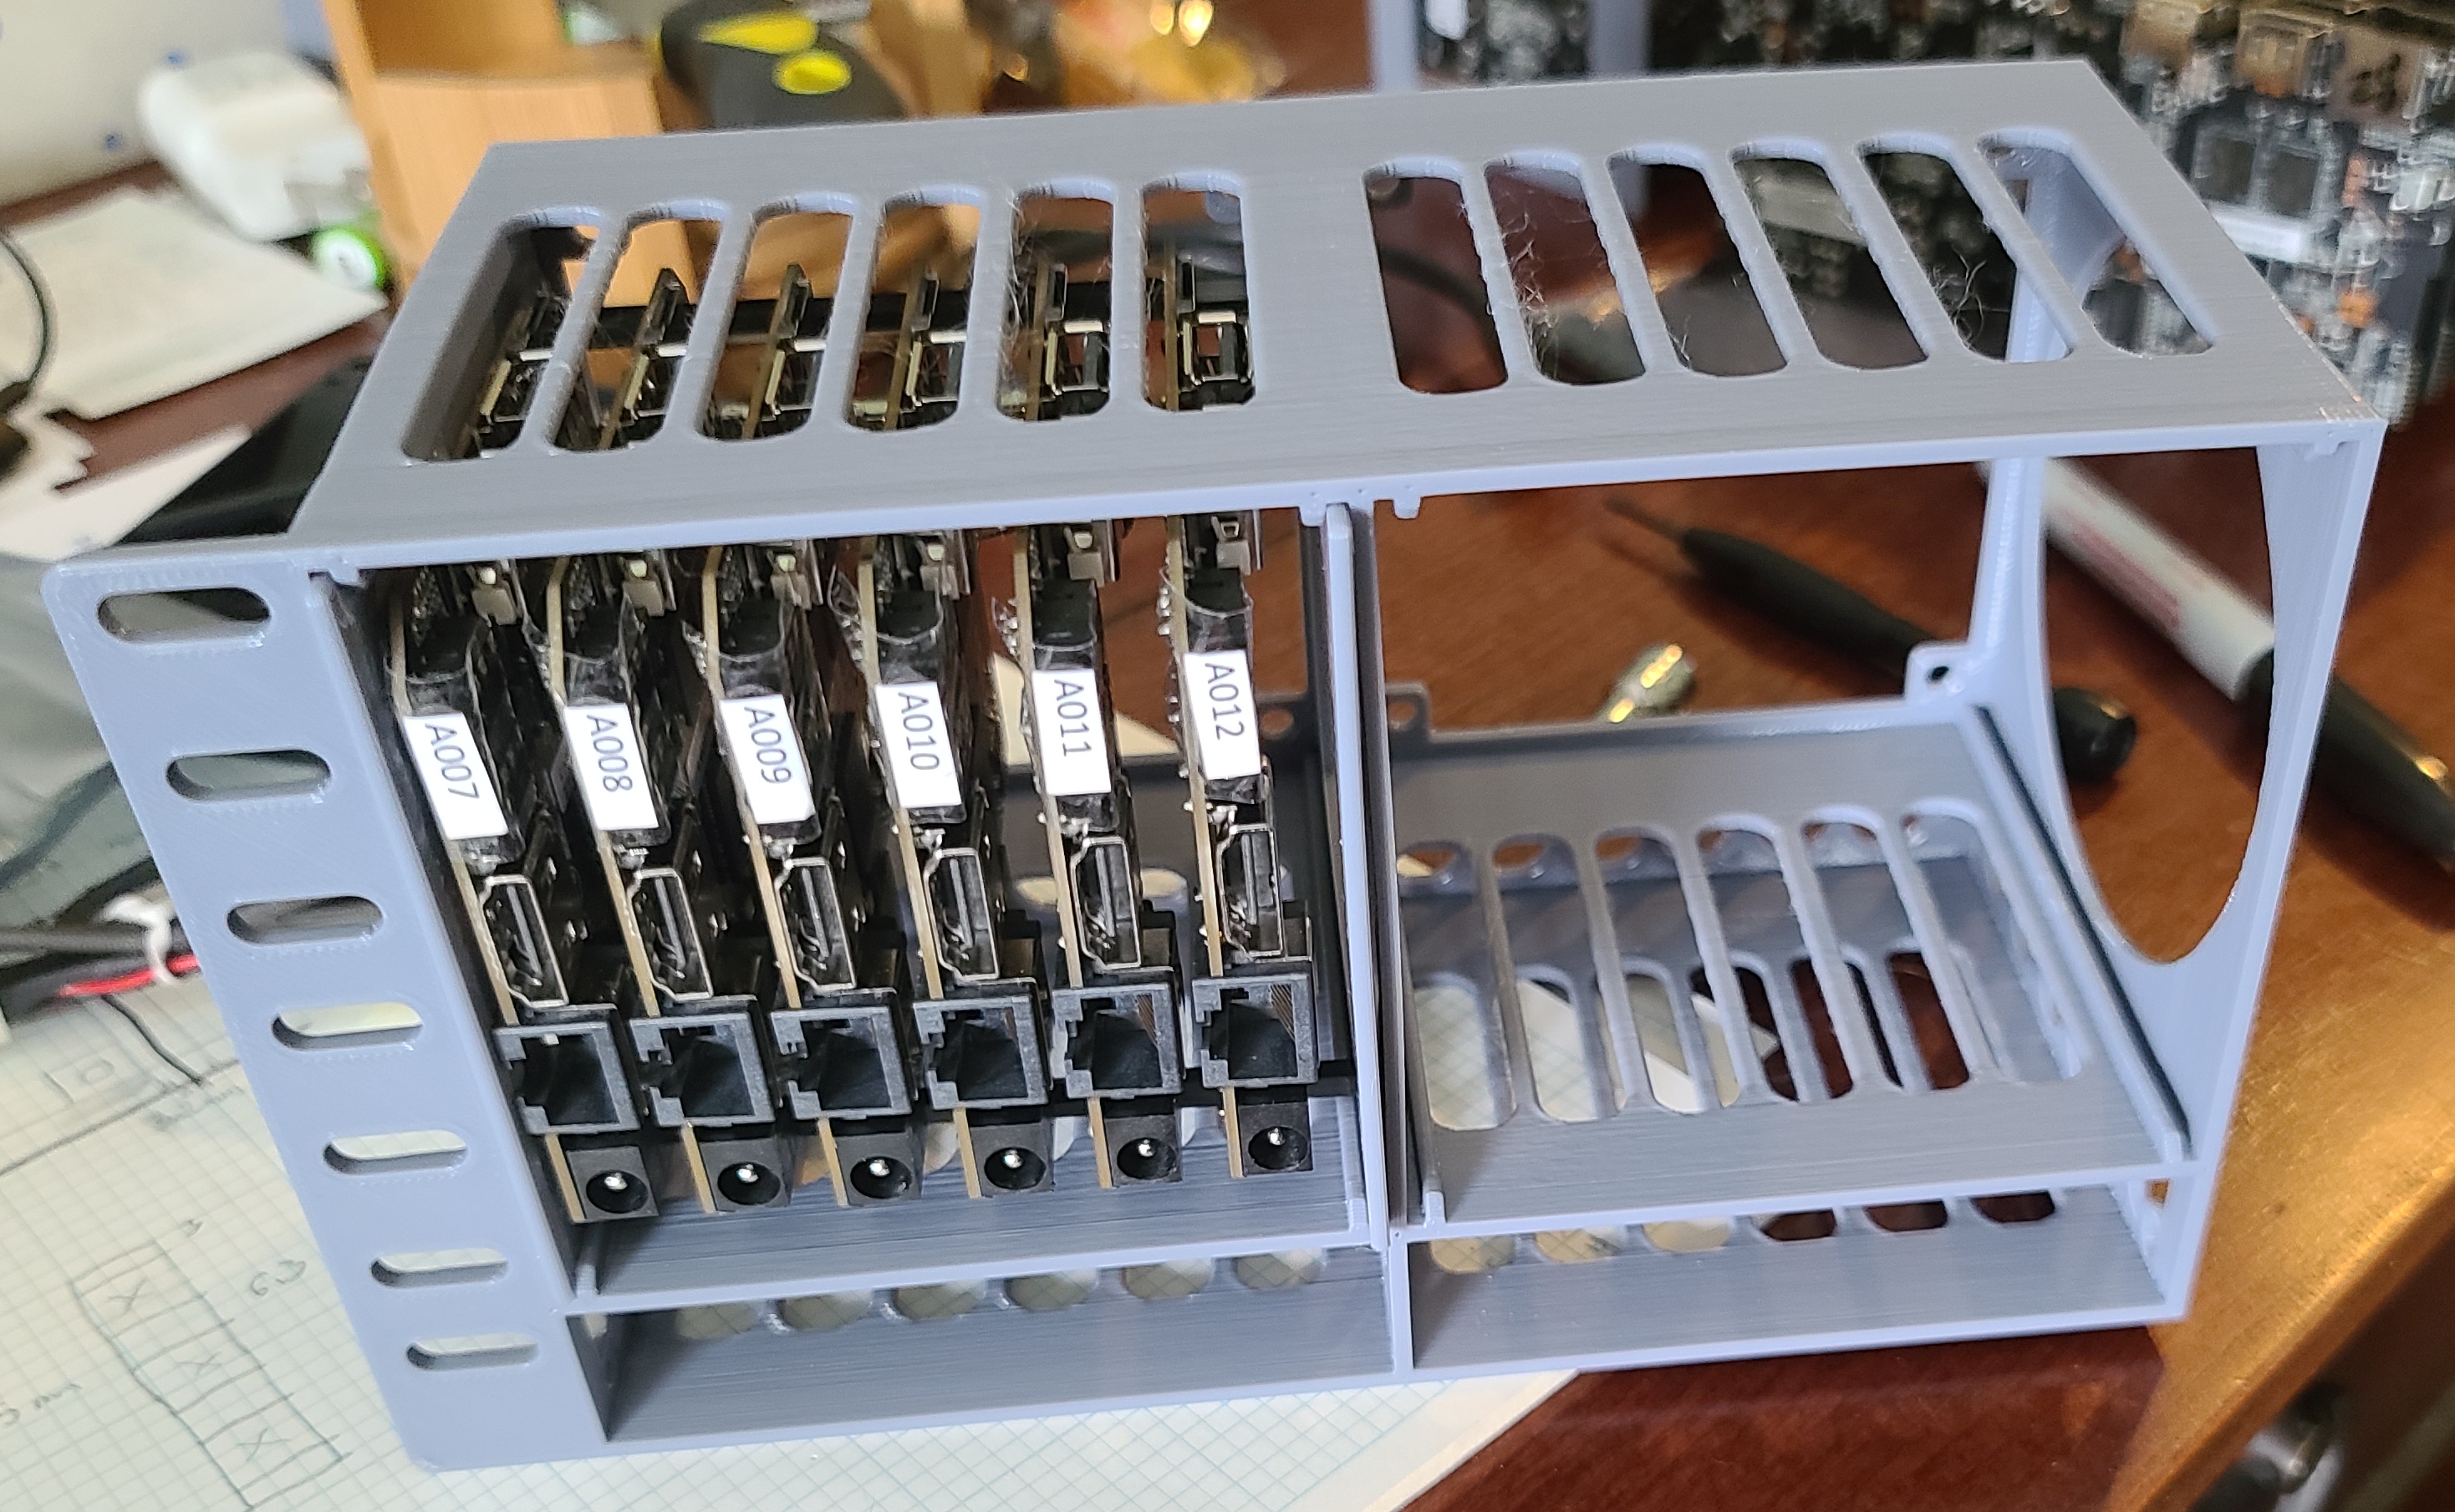
Once you have the sections and sets of adaptors that you want, you can assemble it all together. (Note that these images are from a prototype and are just for example)
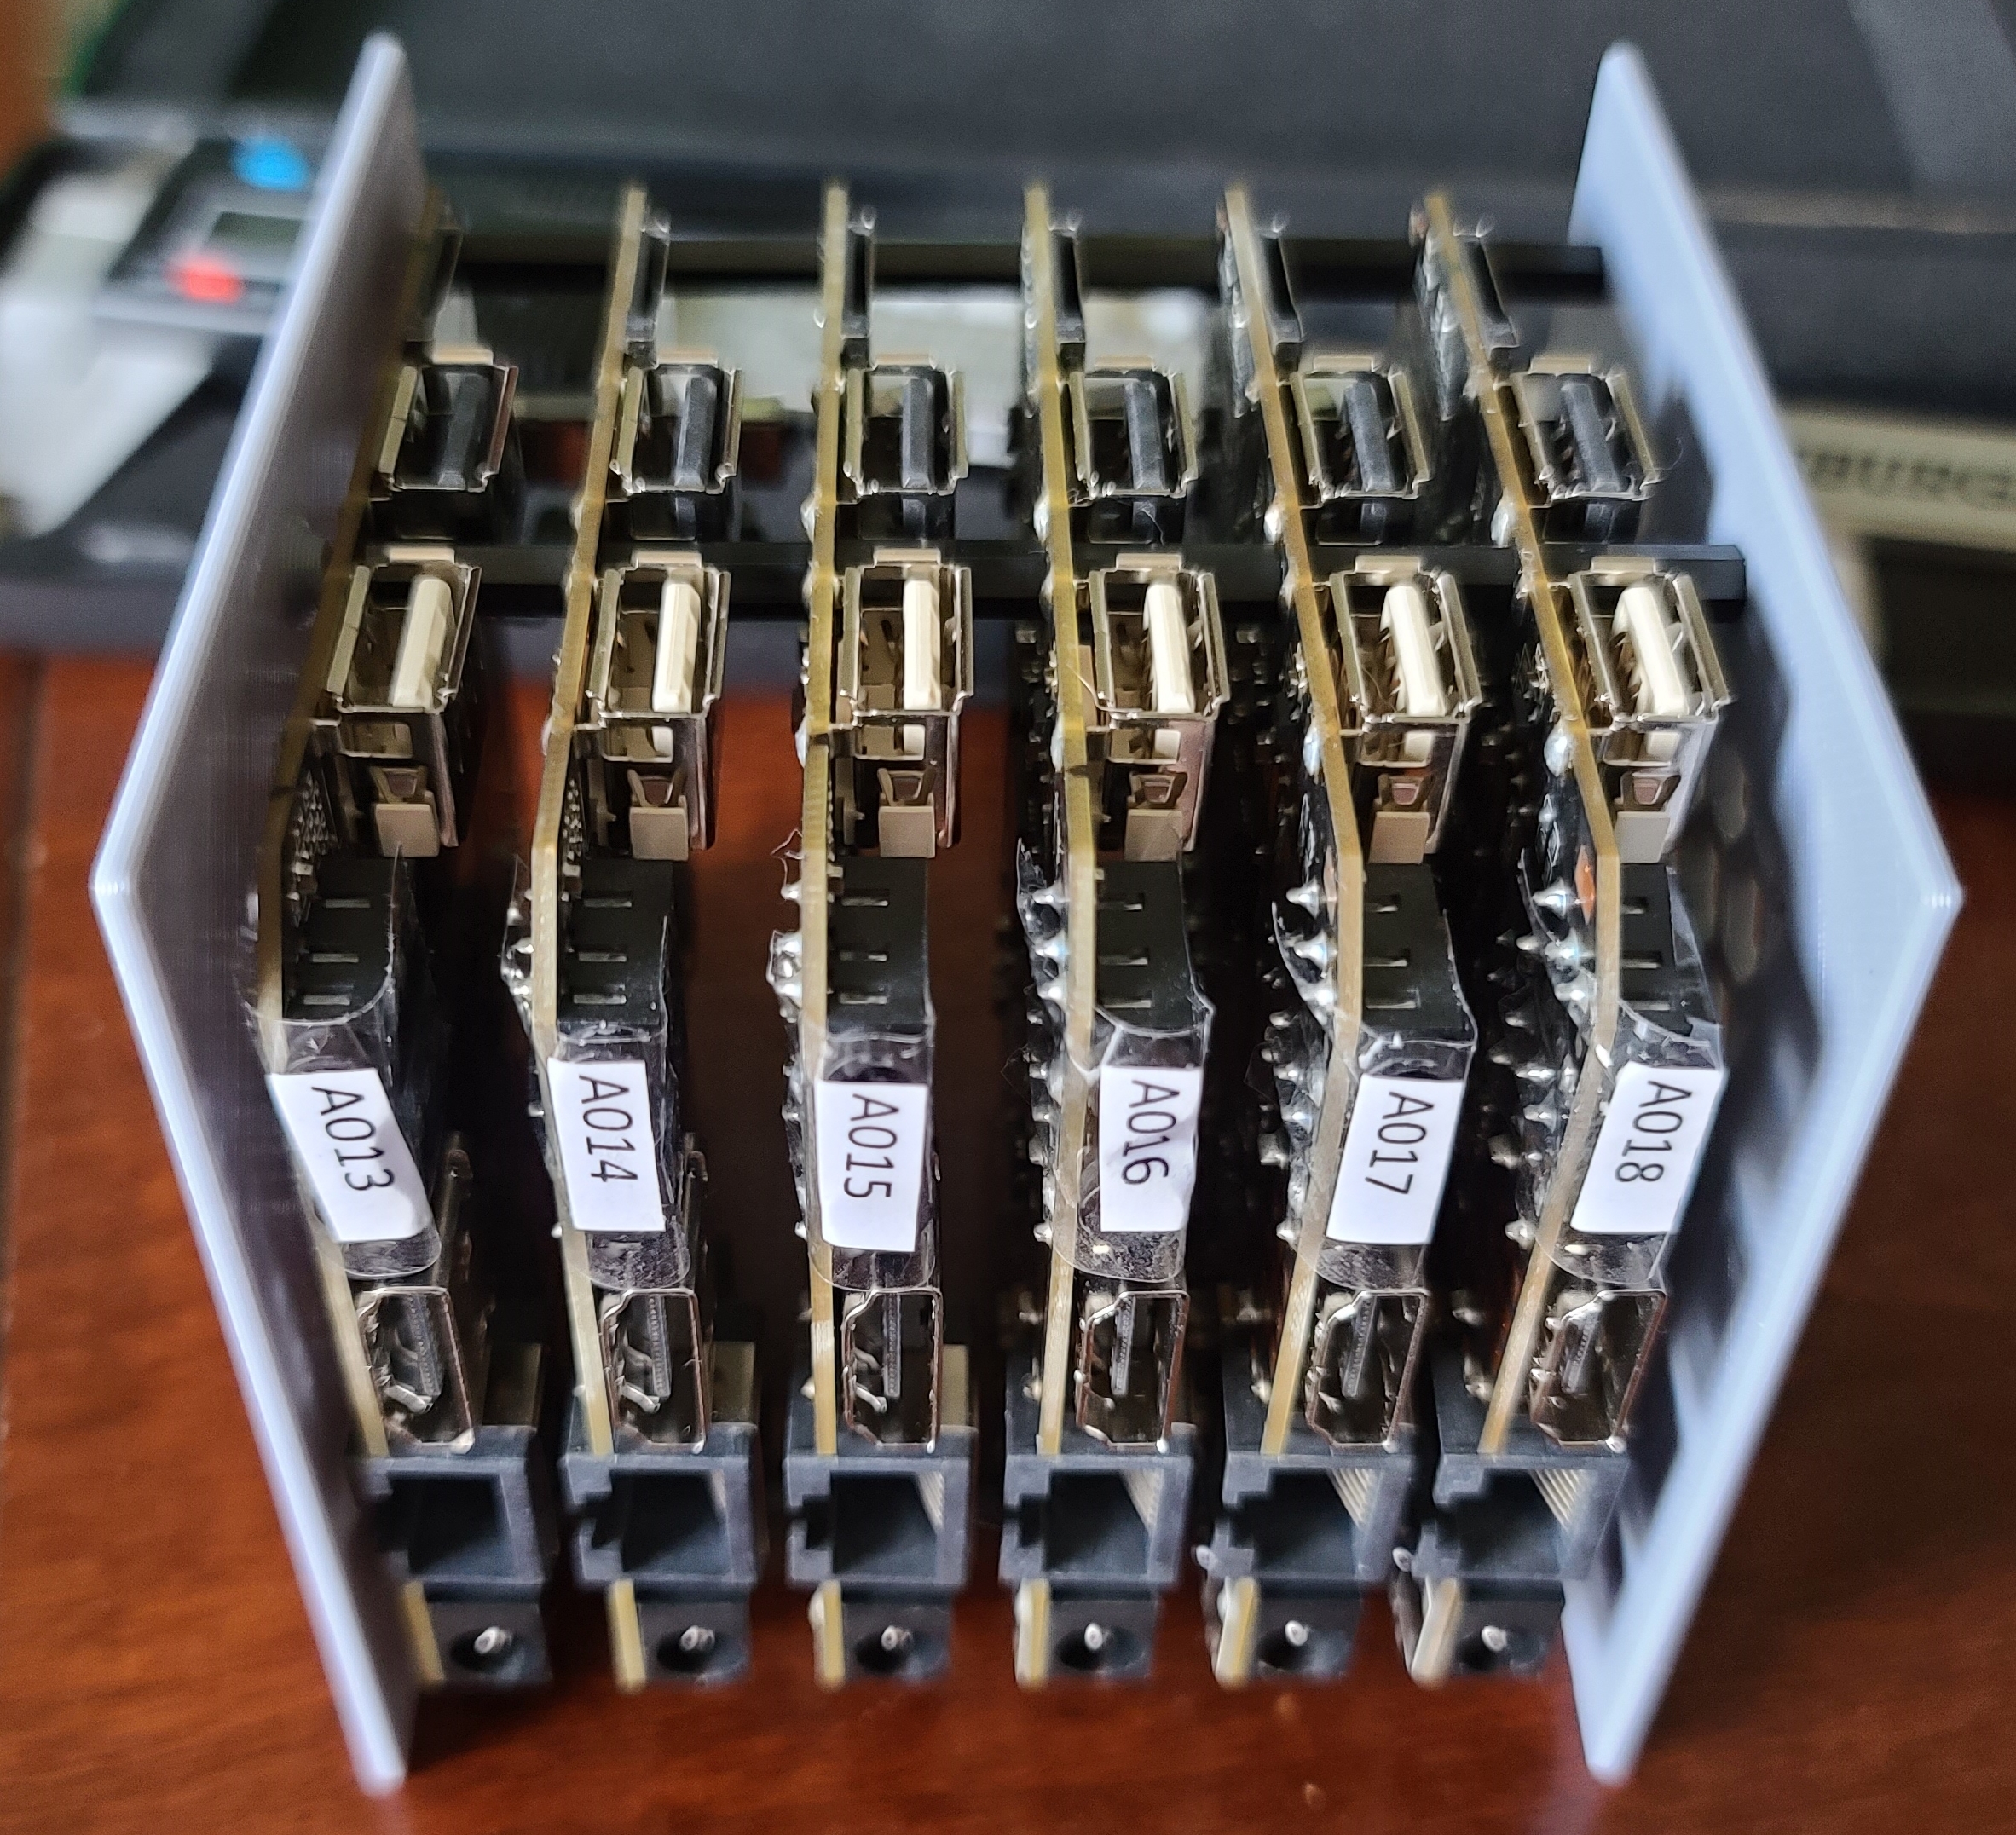
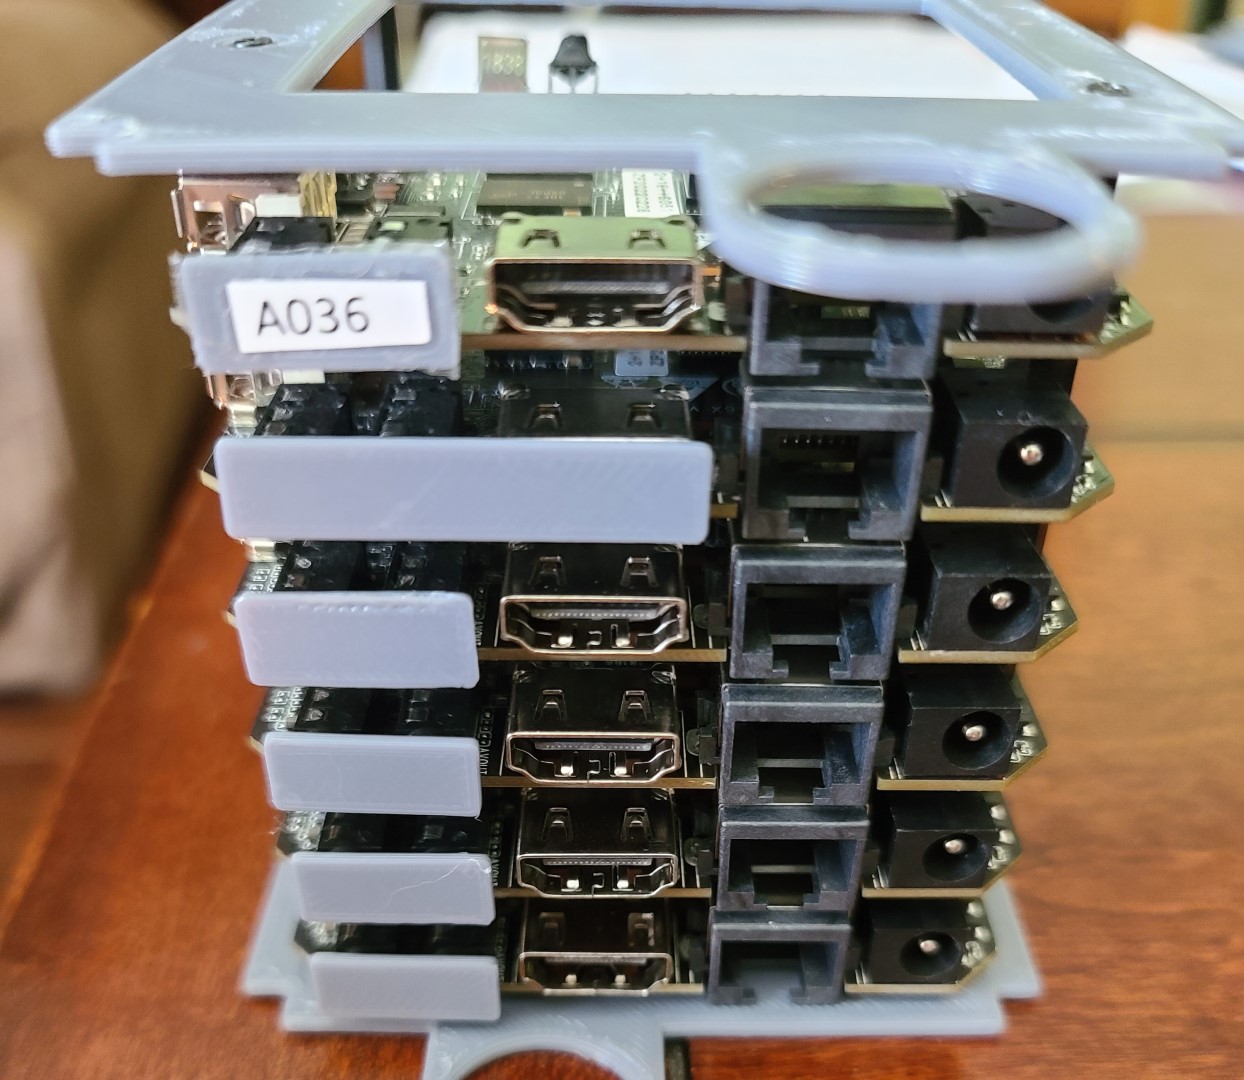
For the boards and adaptors, start with a board on top of the left adaptor and thread a standoff through the board hole into the adaptor.
Then stack boards and standoffs until you have 86mm all together.
Make sure that the last standoff holds the last board in place and screw on the right adaptor into the standoff's hole.
Use screws for plastic to put the right adaptor on (I used the 3 screws from the ATVs for this). Insert the block into a bay when you're ready.
Optional to the tape labels above, you can print the small or long name plate files that look like this:
For the rack-mount enclosure, line-up the left, middle, and right sections so you can thread the rod through the holes in the bottom-back and bottom-front of the sections.
If you are using the desktop enclosure, you can judge if you want to bolt them together, use tape, or screw them down with the mounting holes on the back.
Put nuts on both ends of the rods. Make sure the rod is no longer than the enclosure is wide (not included the rack mounts).
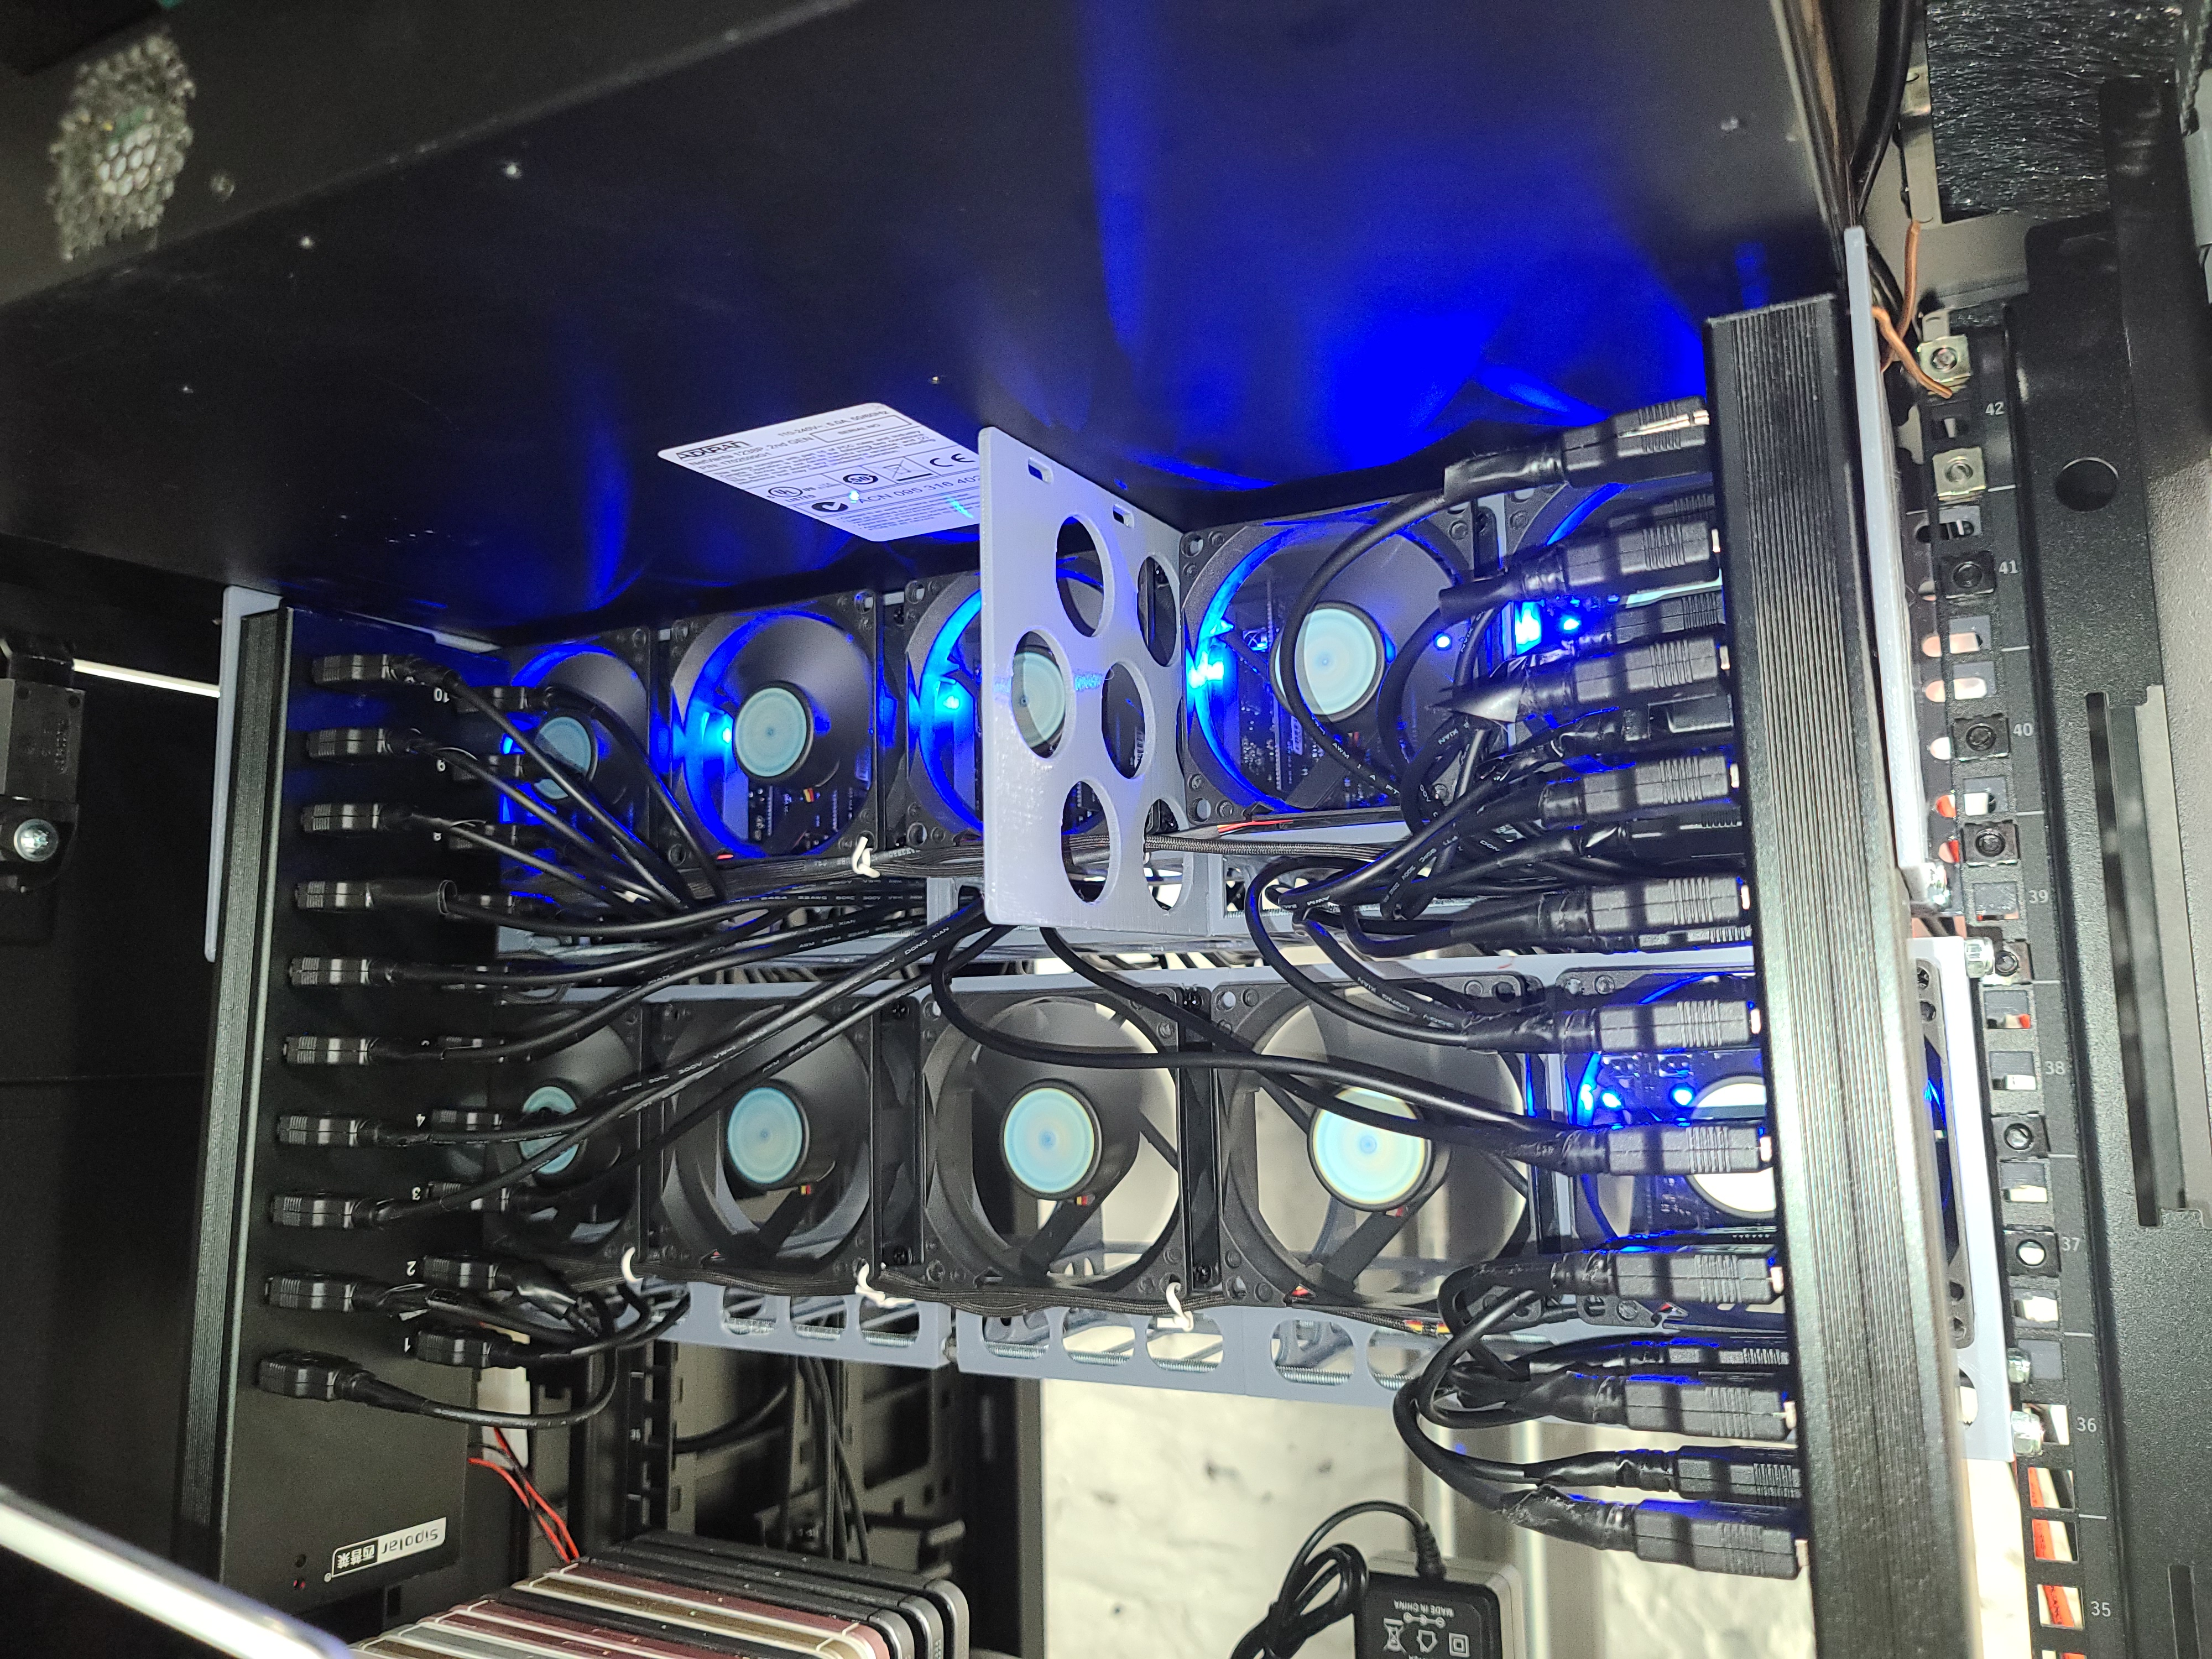
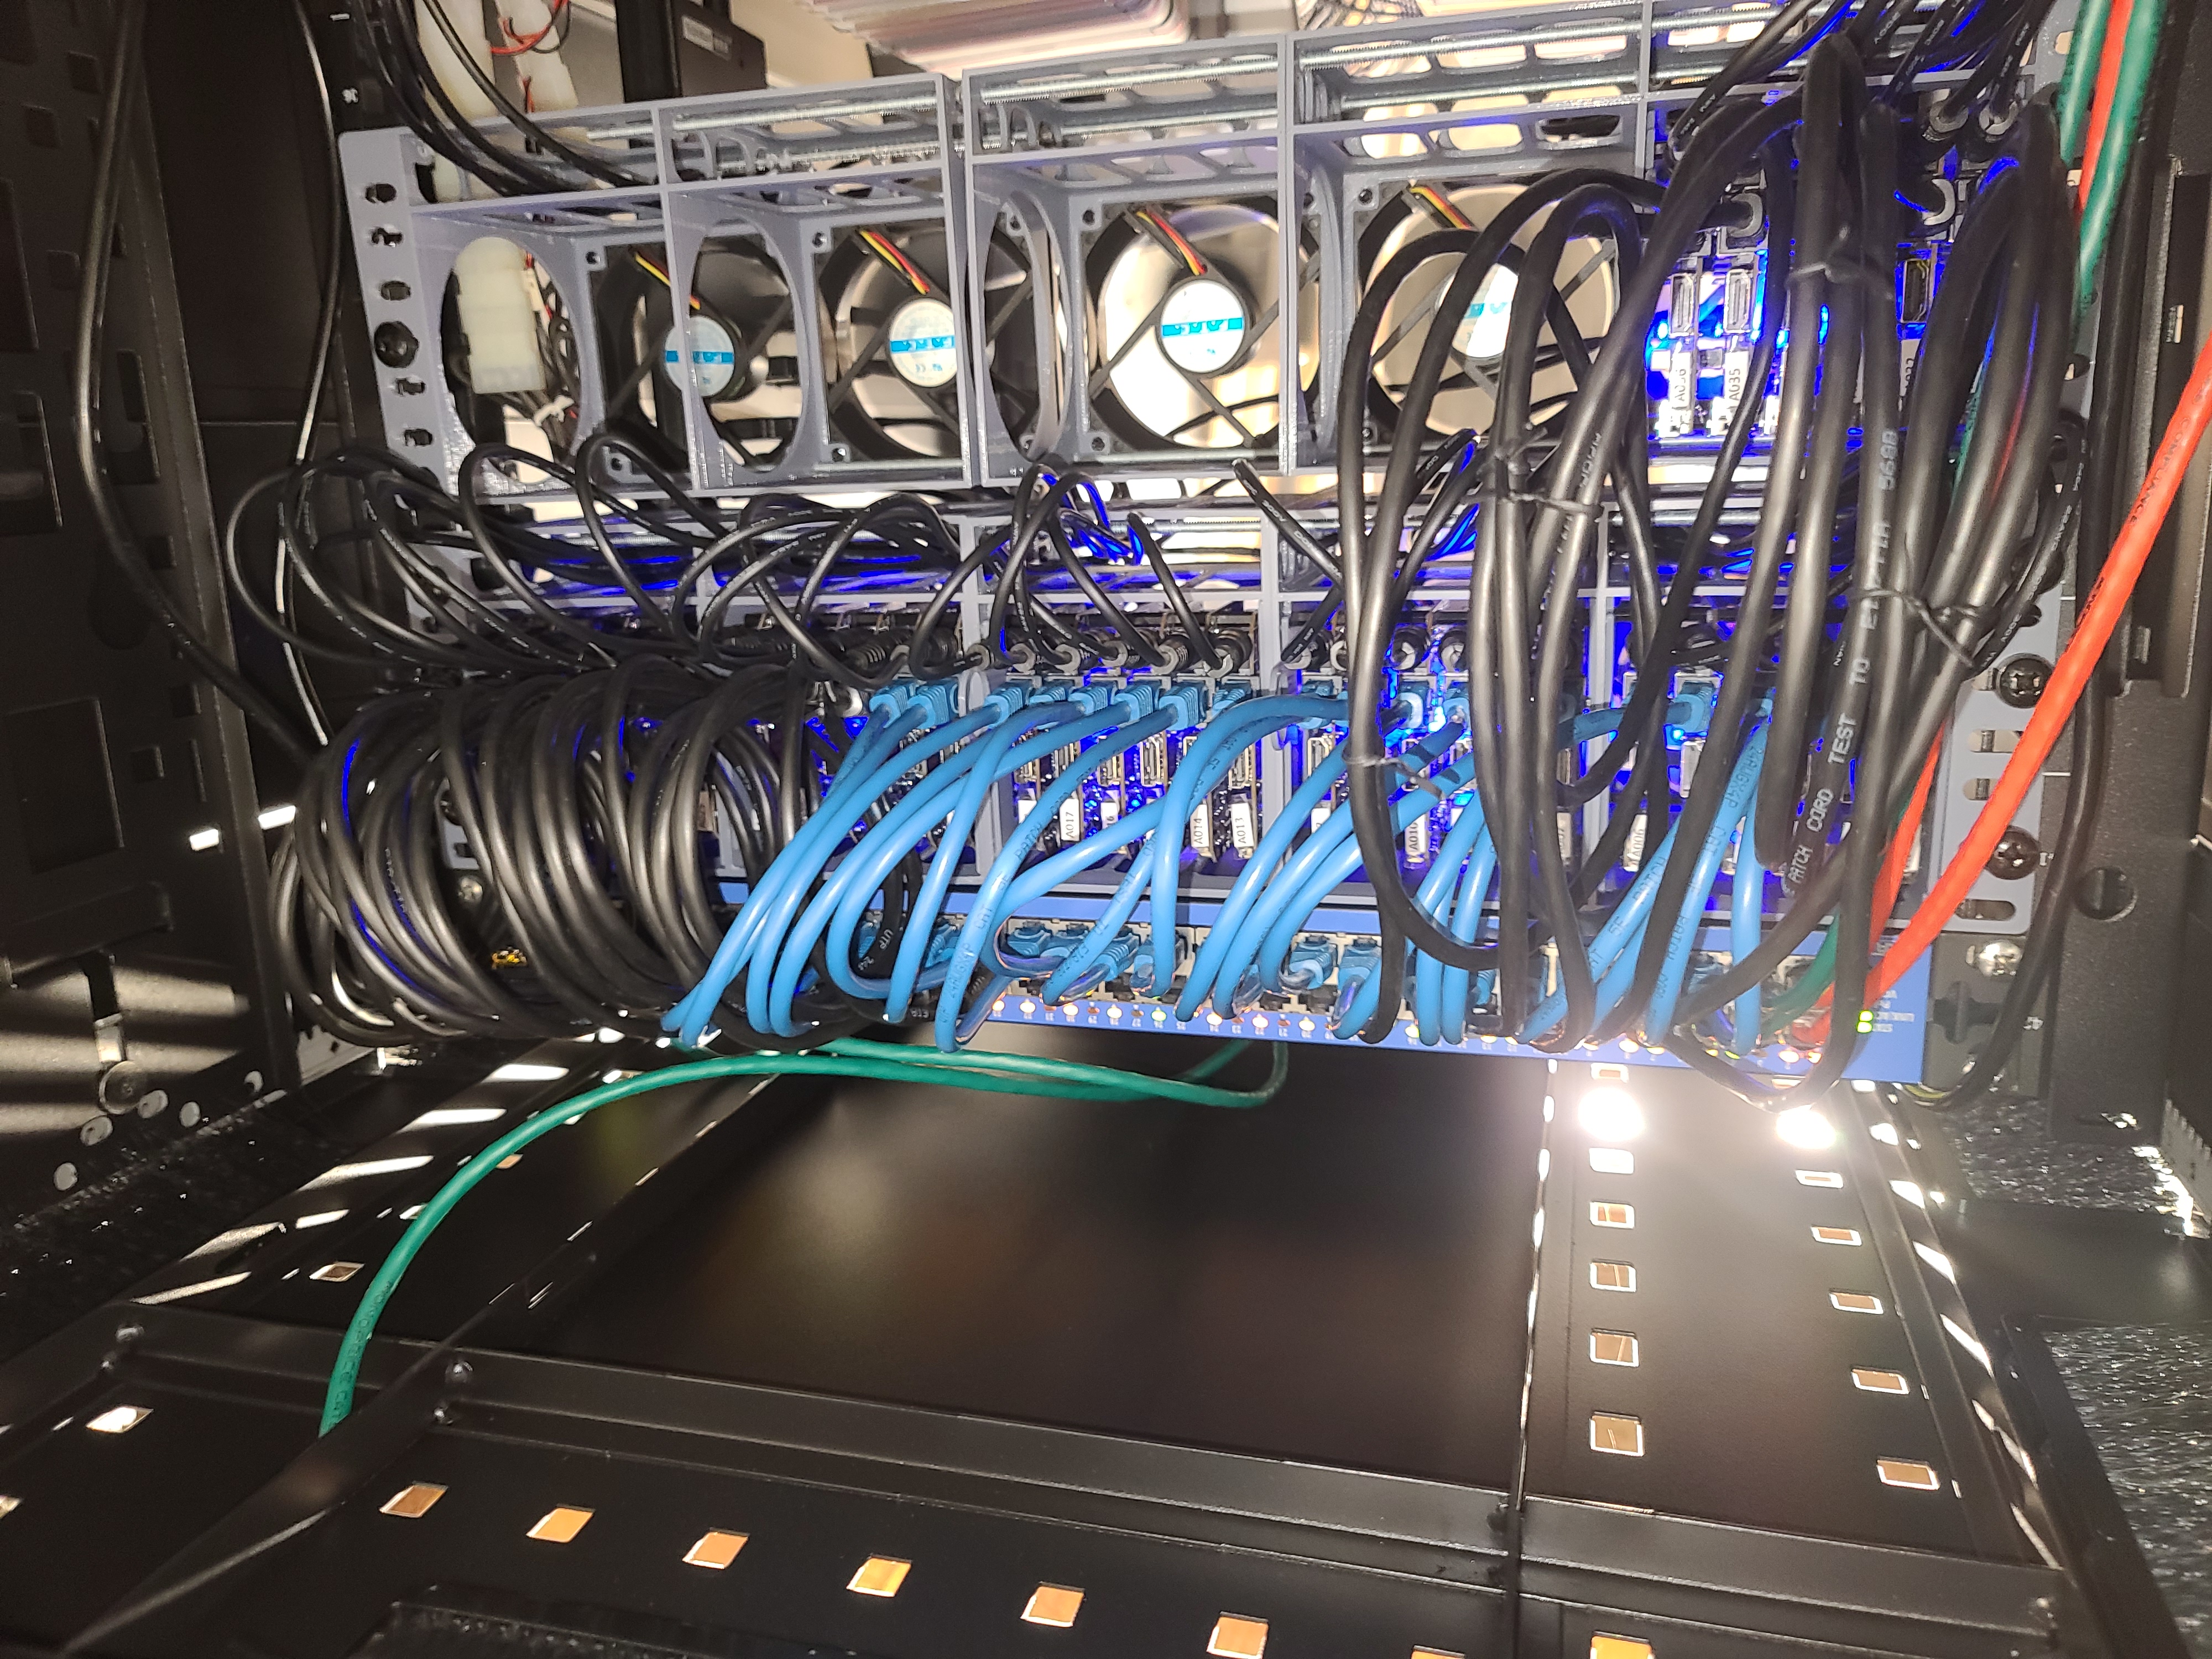
Screw fans onto the fan mounts and tie their wiring together.
You can use the large Molex connectors to link them together and then you can use the final adaptor to power the whole line.
I used the final small Molex for its wires so I can add the barrle power adaptor.
There are multiple files in this repo but only the .stl files are needed for 3D printing. The .FCStd files are the parts made in FreeCAD. Below are the names and what they contain. The images are of the current parts.
- Part Files:
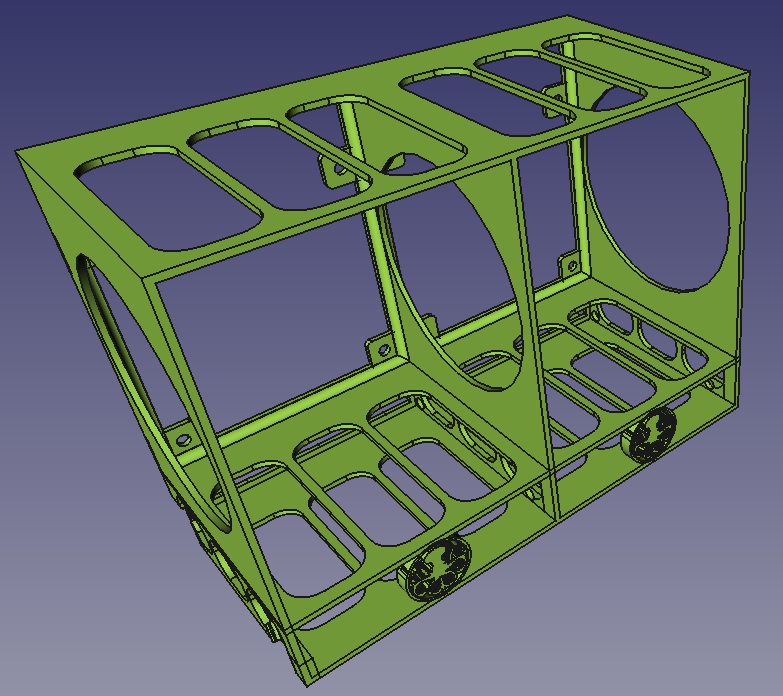
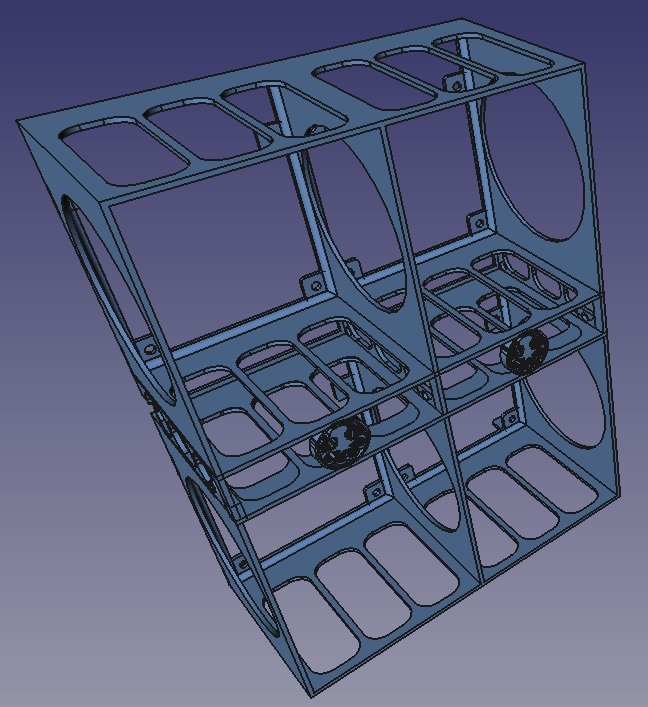
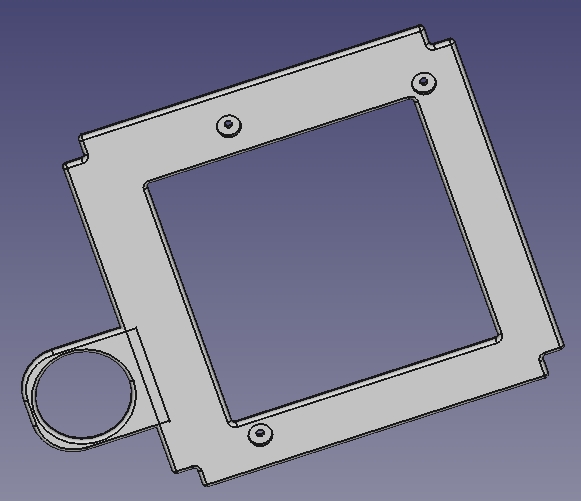
Enclosure.FCStd- Contains the sections of the enclosures. Note that the right rack-mount is a mirror of the left-side and the middle is a bisection of the left-side, minus the rack mount.
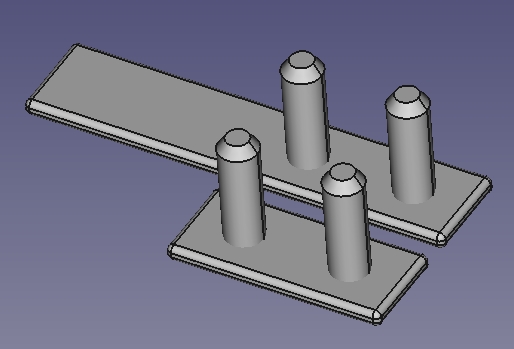
Flat_Left.FCStd- Contains the left-side adaptors for mounting boards to.
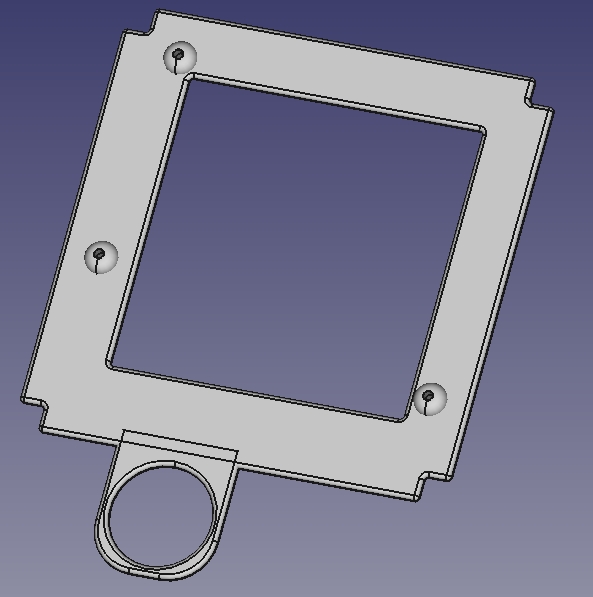
Flat_Right.FCStd- Contains the right-side adaptors that you screw to the standoffs after putting the boards together.
Fan_Riser_Peg.FCStd- Contains a fan riser peg for the desktop prints for anyone that lays it fans down.AuxNamePlate.FCStd- Contains the name plates that you can insert into the AV/Aux ports for labels.HDMI_NamePlate.FCStd- Contains the HDMI name plates that you can insert into the HDMI port for labels.
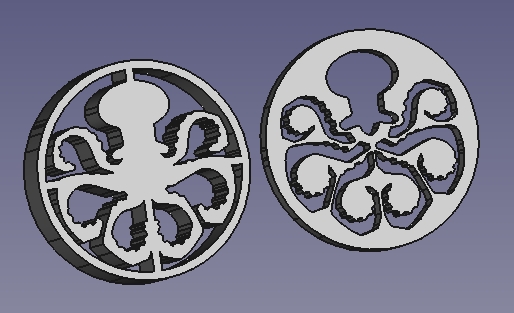
Logo.FCStd- Contains two versions of the logo that's on the front of the enclosure.
- Print Files:
Enclosure_Desktop_Double.stl- This is the printable double-row desktop enclosure.Enclosure_Desktop_SideBySide.stl- This is the printable side-by-side desktop enclosure. Requires a 360mm print bed.Enclosure_Desktop_Single.stl- This is the printable single-row desktop enclosure.Enclosure_Left.stl- This is the printable left-side of the enclosure. Rotate the model so the fin is in the air before printing it.Enclosure_Middle.stl- This is the printable middle section of the enclosure. Rotate the model so the fin is in the air before printing it.Enclosure_Right.stl- This is the printable right-side of the enclosure. Rotate the model so the fin is in the air before printing it.*_Flat_Left*.stl- This is the printable left board adaptor. Rotate the model so the bumps are in the air before printing it.*_Flat_Right*.stl- This is the printable right board adaptor. Rotate the model so the recessed holes are in the air before printing it.Fan_Riser_Peg.stl- This is the printable fan riser peg for the desktop enclosure.x96_AuxNamePlate_Long.stl- This is the optional printable long AUX name plate.x96_AuxNamePlate_Short.stl- This is the optional printable short AUX name plate.HDMI_NamePlate_Short.stl- This is the optional printable short HDMI name plate.Logo.stl- Just a logo, it does not need to be printed by itself.